
Complex formats are critical for those tiles that cannot fit into standard shape categories such as rectangle, hexagon, octagon, and so on.
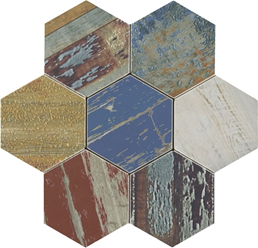
Let's take a look at the example tile below. Before adding a new tile to the database, it's important that the image of the tile is precisely cropped along the edges so no white space appears in the background.
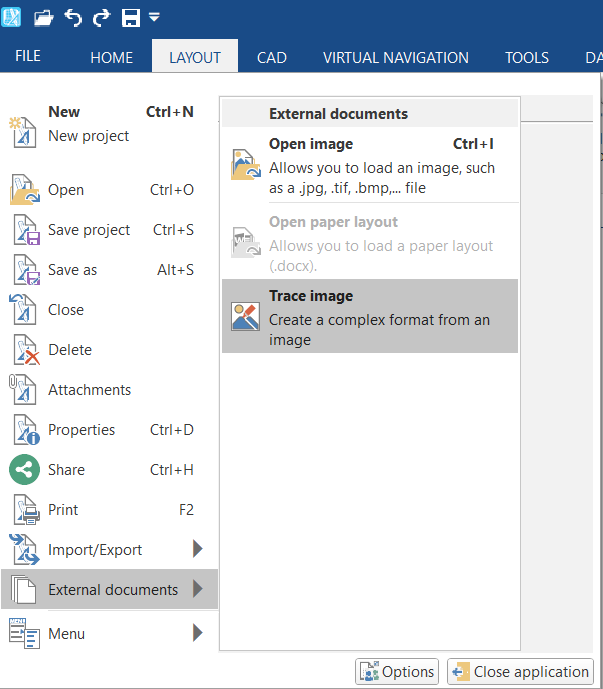
From within your project, navigate to the menu File -> External Documents -> Trace Image and select the image that you would like to import.
 C
C
Using the 2D CAD tools, draw a polyline around the perimeter of the complex format. If there are curved elements present in the shape, these should be redrawn as lines.
To close the polyline, double click.
Save the polyline with the Save Polyline button:
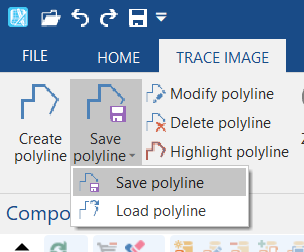
The program will create a new file with the extension .ply that can be saved in any folder. For convenience we recommend using the folder DomuS3D\Formats.
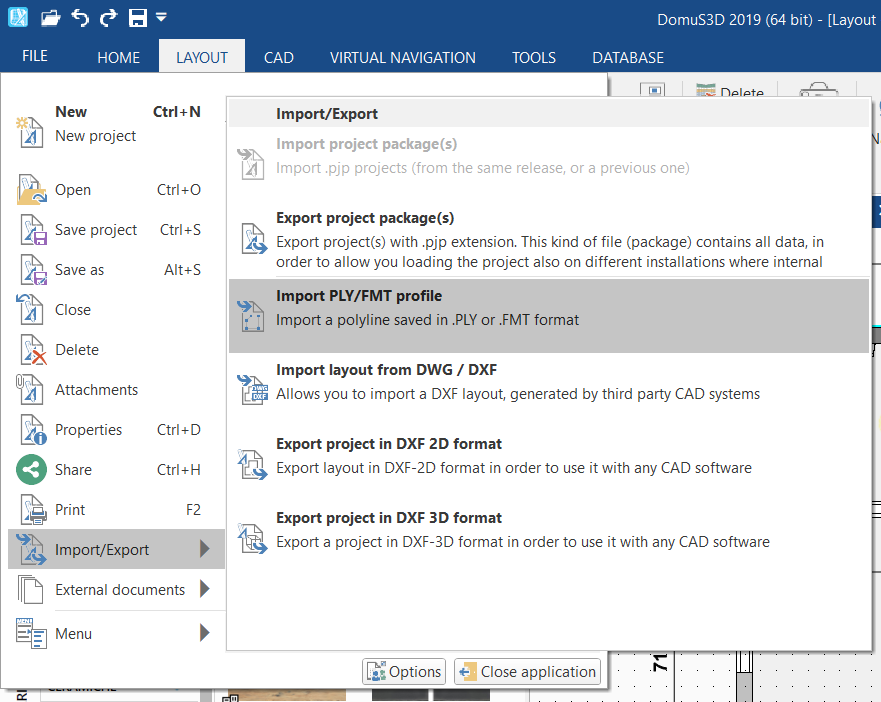
Open the layout window of the project and click on File -> Import/Export -> Import PLY/FMT profile and select the previously saved file.
The outline will be loaded into the project. You can check the dimensions of the tile with the usual commands and change the dimensions using the Scale command.
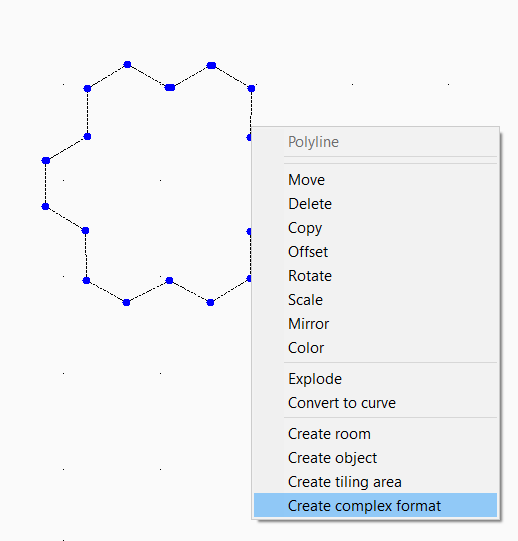
After you resize the outline to match your needs, right click on the outline and from the context menu that appears, select the Create complex format command.
Save the file in the folder DomuS3D\Formats.
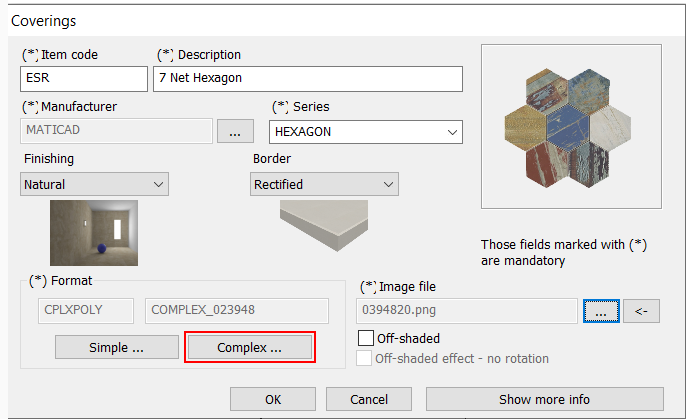
Now you can create your tile following the standard procedure (Database tab, Tiles Management -> New). When inserting your new tile, make sure to select the complex format you just created for the shape.
To apply your complex tile to a surface in your project, you have to create a panel. Follow the procedure shown at this link to create a panel.
https://www.youtube.com/watch?v=HD91sqLV9f4
This article is valid for the 2017 version and later.