
Starting in the 2019 version of DomuS3D, it is much easier to draw walls inside of a room.
These walls can subdivide a room into several smaller rooms, or, alternatively, create partial divisions, either starting from a point on one of the perimeter walls or from any point inside of the room. You can insert windows and doors into these walls, apply tiling or other covering materials, and modify their height, in the case that you want to create smaller walls that are shorter than the ceiling.
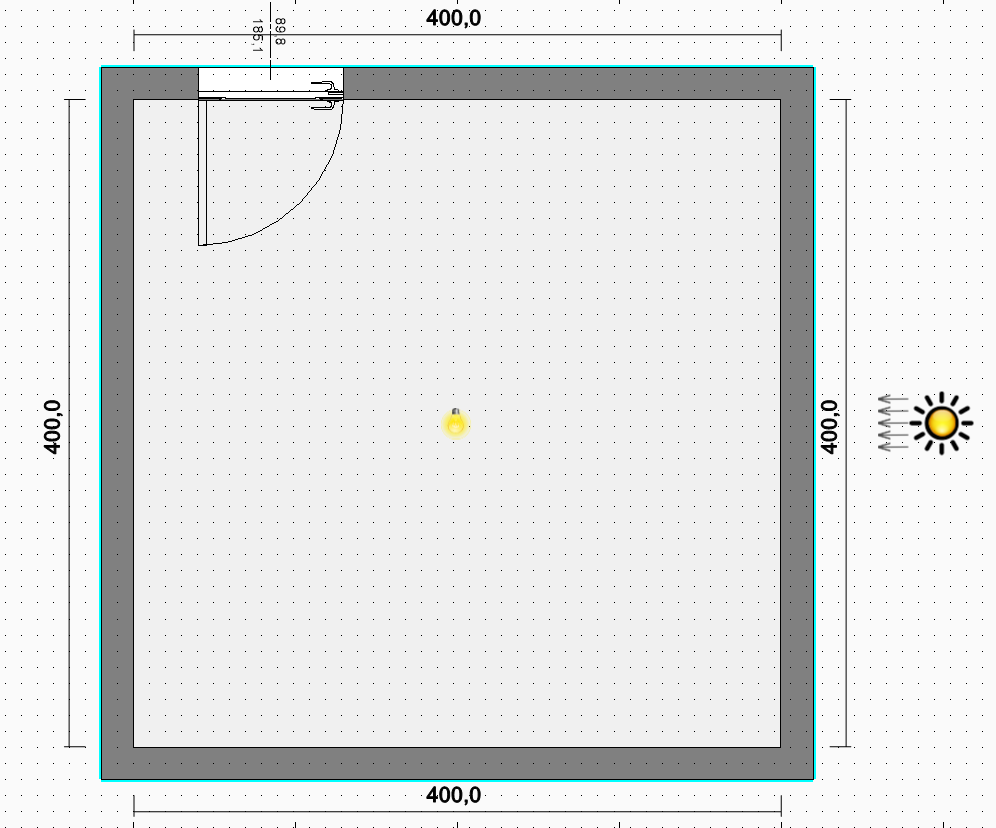
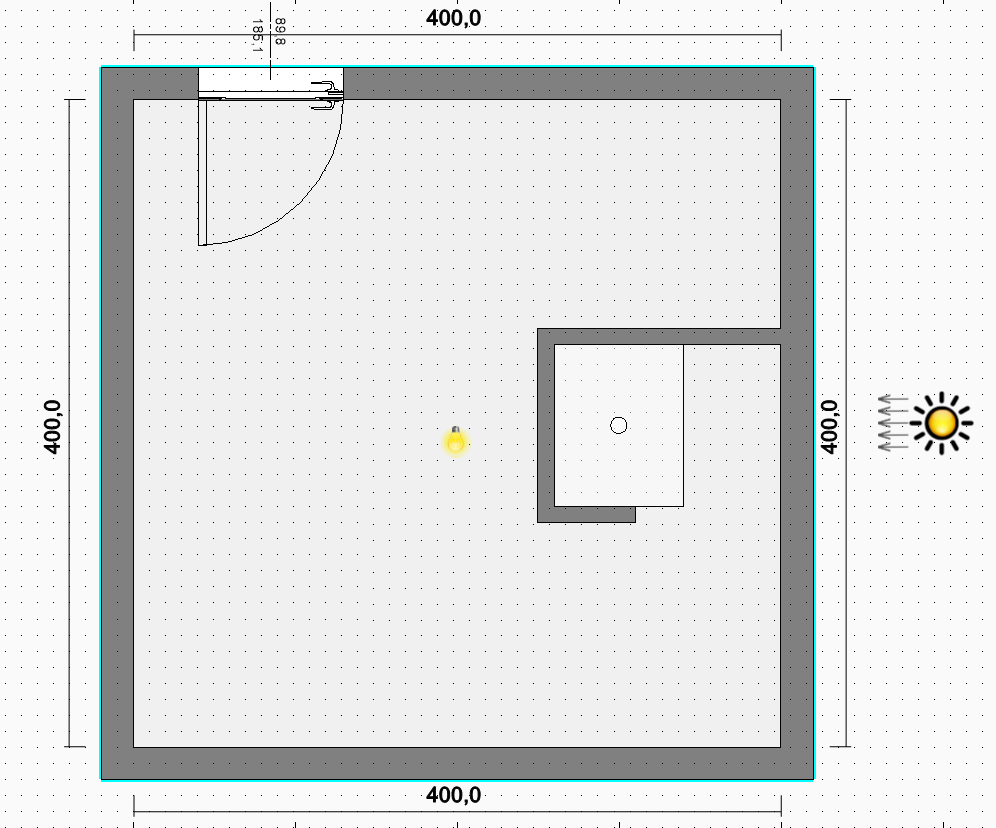
Let's take the simple case of creating an internal dividing wall that will separate the shower area of a bathroom.
Click on the New Wall button present in the Layout section of the Ribbon.
Begin tracing the inner walls starting from a point on one of the walls of the room. The program allows you to position this point precisely by inserting the exact distance from the right/left corner (you can move from one to the other by using the TAB key). To change the hooking point of the wall, tap the P key on the keyboard.
Trace the desired profile and, once you are ready, right click and select the command Set Thickness, which will allow you to set a specific width for the inner walls.
When you are done drawing, right click and select the Stop command.
To learn more about this command, watch this video.
This article is valid for the 2019 version and later.