
Once you have created the interior floor plan, including any openings like doors and windows, you can move on to designing the outdoor area and the swimming pool.
To draw the outdoor flooring, such as the pathway leading to the pool, use CAD objects. After completing the outdoor layout, you can create the pool using one of the following methods:
1. Download pool designs from the catalogs available on the Live! page
2. Use CAD commands to draw the pool according to specific dimensions
1. Download swimming pools from the catalogs
- You can find predefined swimming pools in the catalogs on the Live! page of DomuS3D, under the FURNITURE section, specifically in the OUTDOOR-GARDEN category, from the manufacturer MATICAD. The 3D swimming pool elements are “self-drilling” and automatically create an opening when placed on an object created using CAD tools.
- Drag the SWIMMING POOL element into the scene and place it on the desired object. Use the H key to set the correct elevation of the furnishing element relative to the object on which you want to position it.
Furnishing element "rectangular pool" (piscina rettangolare) dragged onto a CAD volume and covered with tiles.
2. Use CAD commands
- Activate the "Polyline" command from the DomuS3D toolbar and draw the required objects.
- Create the steps using the CAD tools.
- To place objects such as the pool access steps, use the object's properties to set the desired elevation.
or the “Move3D” command to move them in the navigation view, using the Cartesian axes or by entering coordinates.
Note: The procedure described from this point onward is applicable to both of the methods mentioned above.
Assign Materials to Pool Parts
After designing the pool, either with 3D elements from the catalogs or using CAD commands, assign the material using the Drag & Drop method. Drag the material from the library and drop it onto the desired object.
We don’t need to create an interior design that is especially detailed in this case; the most important thing is to build the 3D structure aside the pool and insert a few items that will be visible from the viewpoint that we choose for our final renderings, the viewpoint that we believe will show-off best the pool area that we are designing and building.
Floor plan image with exterior (objects to create a pool)
Image of the pool structure viewed from navigation (without water)
Adding Water to the Pool
- To add water to the pool, draw an object representing the water volume using the "Rectangle" or "Polyline" command, ensuring it covers the full depth of the pool. The horizontal dimensions should be slightly larger than the pool objects to prevent any display issues during rendering.
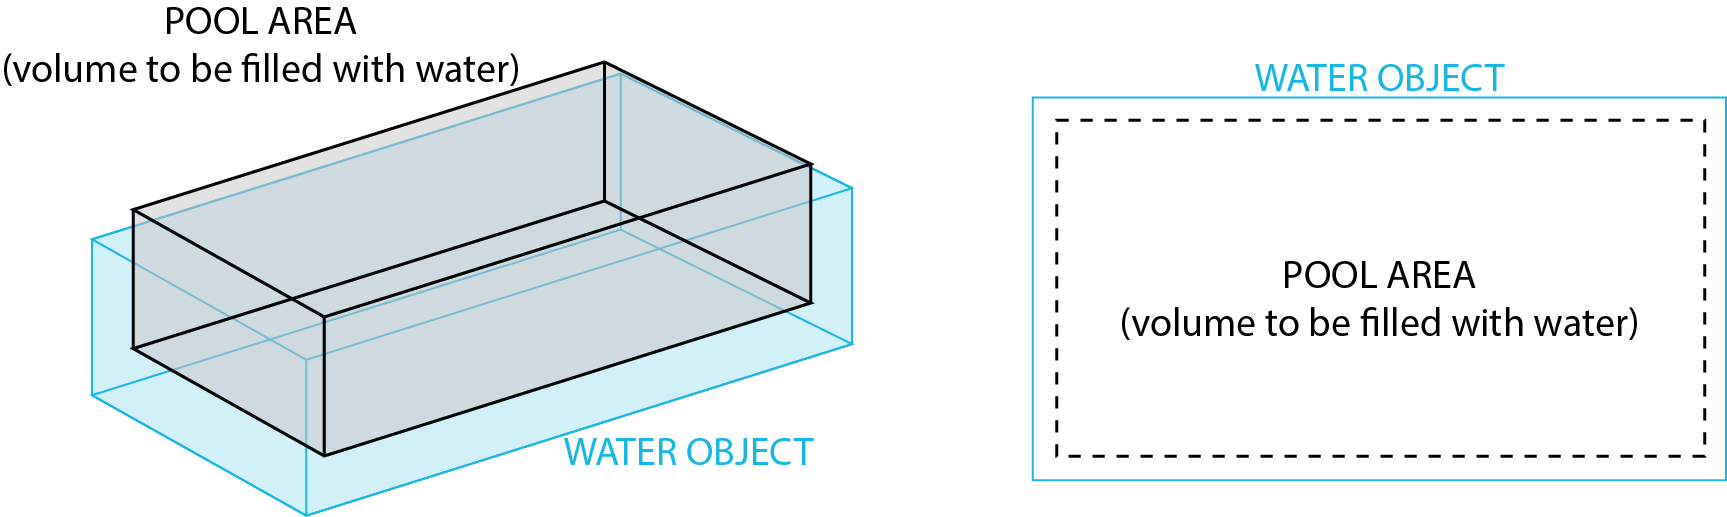
- After creating the water volume, apply the "WATER" material from the MATICAD library of generic materials. Be sure to download and update the materials if needed.
You can assign this material from the layout or the navigation window and once the material is assigned to the object, it will appear transparent in the navigation window.
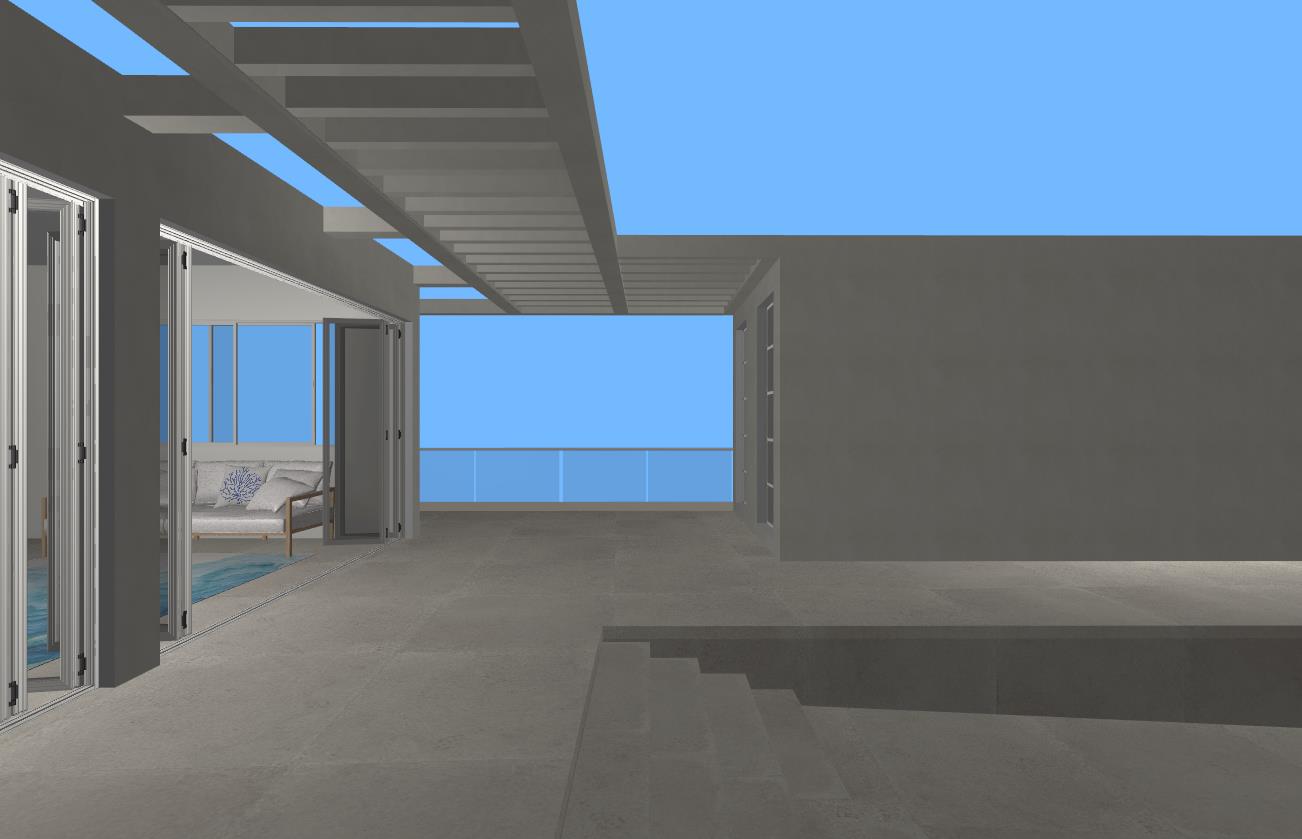
Navigation view of the pool with the added water. The object to which the material has been applied appears transparent.
Adding Furnishing Elements
Enhance the project by incorporating additional furnishings, such as lounge chairs, umbrellas, plants, and other decorative items to create a more realistic environment.
Image with objects and furnishing items
Setting the Background and Natural Light
Use an HDR background from the DomuS3D library for appropriate natural lighting. You can rotate the background to match your image. Alternatively, you can use a JPG image as the background and manually adjust the natural light.
Creating the Rendering
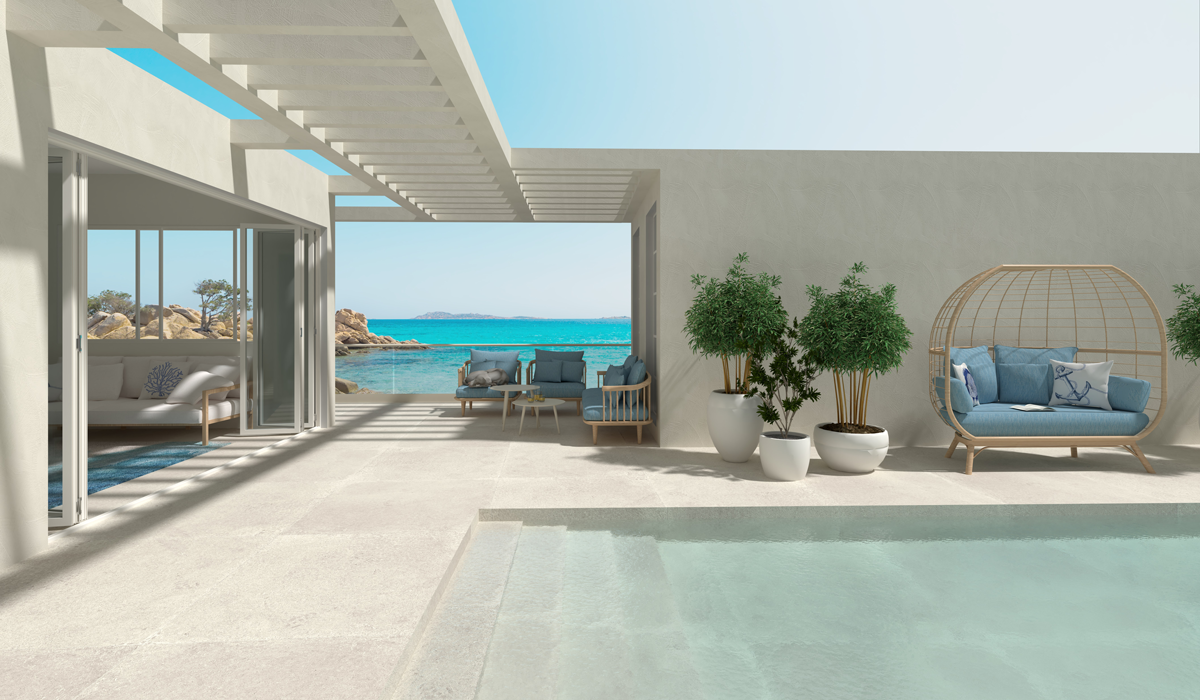
After setting the light source and background, start the rendering process to produce the final image of your project.
This article is valid for version 2021 and later.