
V-Ray simulates sun and sky light with the VRaySun and VRaySky parameters, which work together to produce the overall natural light effect.
To open the settings window for natural light within your project, click on the "Natural Light" button in the Virtual Navigation tab of the Ribbon from the Layout or Navigation window.
Adjusting Sun Light
To properly adjust the sunlight, we have to imagine that our project is located at the exact center of the blue sphere shown on the right (the little black dot in the middle) and that the sunlight rotates around our project.
The black line in the image represents the shadows generated based on the position of the sun.

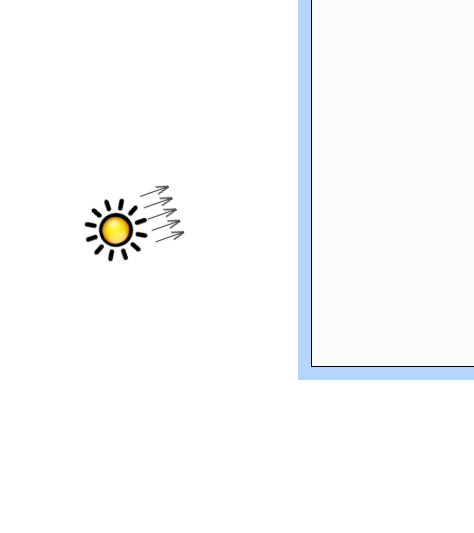
You can also move the position of the sun directly from the Layout window by moving the image of the sun that you'll find drawn on the layout.
Sun light parameters
Activate: this flag allows you to enable/disable the sun light. If disabled, the rendered image will be illuminated by the sky only, which is an indirect illumination coming from the outside. We suggest disabling the sun light only in case of an indoor room without any holes/windows to the outside; in this situation, sun light will never enter the room and therefore will have no effect on the image, but if the sun light is active, it will continue to slow down the rendering process. In this case, it is useful to select the "Night time" pre-set.
Using natural sun light in your project will give a higher quality final rendering compared to using artificial light only and have a more realistic effect for tiles, surfaces, and materials. One trick could be to create temporary hole(s) in a wall, which are not visible in the rendering, in order to let the sun light into the scene (and therefore, illuminate the scene without artificial light). If the room already contains a window or an opened door, you do not have to create any additional holes as the sun light will already enter the room.
Multiplier (0.1 - 10): this parameter corresponds with light intensity. The default value is 1. You can change this parameter in case you want to reduce/increase sun light power. You can change it slightly and launch a small render sample to evaluate its effect.
Scale (0.1 - 10): it is the dimension, the diameter that will represent to sun circle. The default value is 1. If you increase the value, shadows will fade away more softly.
Invisible: if checked, sun is not visible in the scene as well as in reflections, even if its illumination effect remains.

Soft shadows quality (0 - 50): this parameter affects the quality of the shadow’s blur. Upper values mean a higher quality, even if rendering time will increase accordingly.
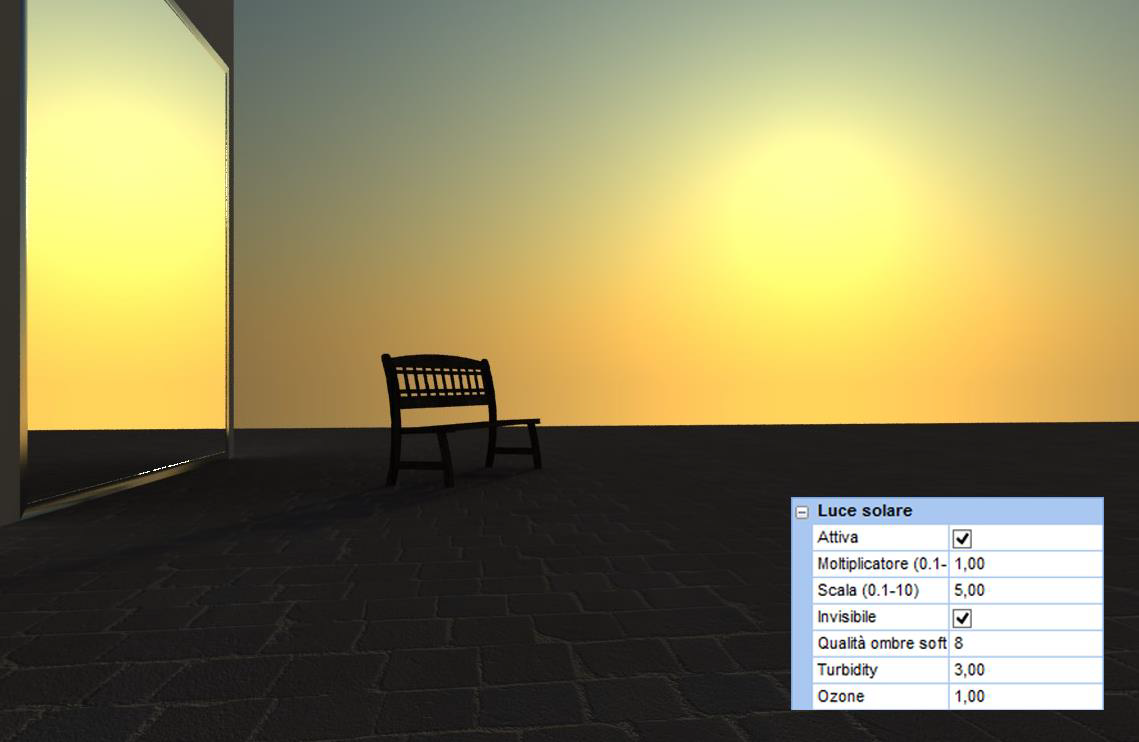
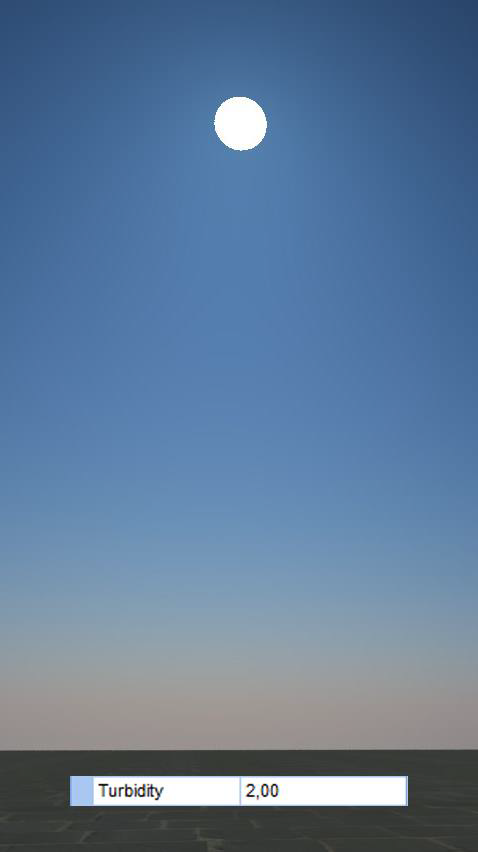
Turbidity: this parameter affects the atmospheric dust quantity. Turbidity affects the sky colour too, especially when sun light has been disabled so that the global illumination is lighter; e.g., if value is more than 10, shadows made by the sun nearly disappear. Low values will let you see a very clear and clean sky with a typical blue colour, and sun is sharped and well-defined like the one you see in the mountains. High values turn the sky colour on yellow/orange, which is typical of metropolitan environments, with higher levels of dust and pollution. Turbidity can vary in between 2,0 and 20,0.


Ozone: this parameter affects the colour of the light made by the VRaySun. If value is nearly 0, sun light is warmer and colour gets more yellow, while if you move around 1, light is ‘colder’ and colour gets more blue (sky-blue). This parameter does not affect the scene in a very evident way..


Elevation (0 - 90): this value is given in degrees, and tells you about the vertical height of the sun. In this image you can see the sun when at 45°: the project is always placed in the centre of the simulation.
If you move the sun down to 0° you have a less intense illumination, which is typical of dawn and sunset. 90° will give you strong light coming from the top (ceiling) of the room, which is typical of noon.
You can move the sun in the simulation pane by clicking over it (the yellow circle) with the left mouse button; keep it pressed and move the sun where you need to get the illumination you’re searching for. Such a movement affects both Elevation as well as Azimuth (see next).

Azimuth (-180, 180): this value is specified in degrees, and reveals the sun’s position in the horizon. Again, use left mouse button as seen before, in order to change Elevation and Azimuth.
Sky model: Choose the model and effect you want to use.
The Standard CIE sky is created by algorithms that define a selection of standard atmospheric conditions, for example CIE Sky Overcast, which corresponds to overcast sky conditions. The luminance of the sky is independent of the position of the sun, it has a value that varies in a 1/3 ratio from the horizon to the zenith (90°), where maximum luminance is reached.
The CIE Sky Clear model is associated with a completely clear sky, the position of the sun is a fundamental variable in the calculation of instantaneous luminance.
PRG Clear Sky (available in the 2023 version) improves the atmosphere in situations of sunrise/sunset.
Here are a few examples:
Environment
The Environment section affects the indirect light coming from the sky.
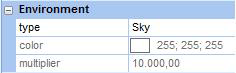
It is made up of different parameters, including:
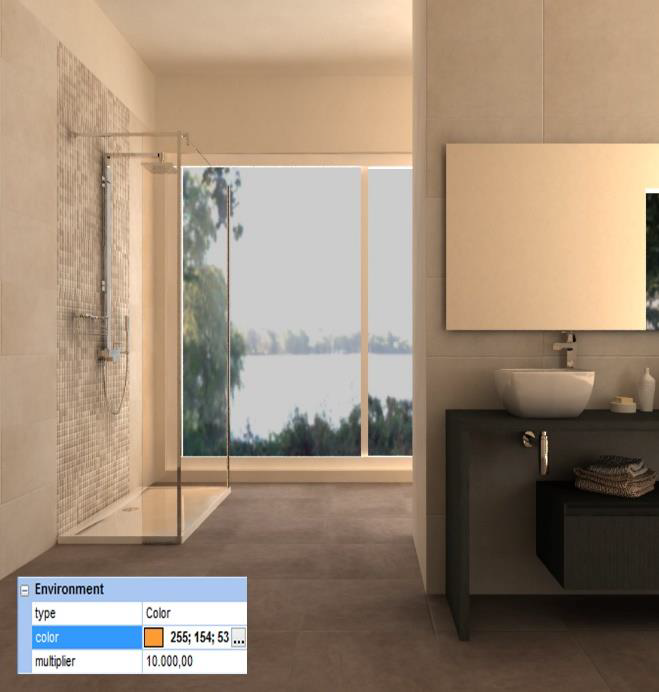
Type: in this field you can choose whether to use the default sky colour or a custom colour for the environment illumination. A sky colour (as seen before) will create a blue light. A custom one will make the scene illuminated from all directions by a light defined in the next two fields: colour and multiplier. The next images can give a clear idea of the result you’ll get by changing those parameters.


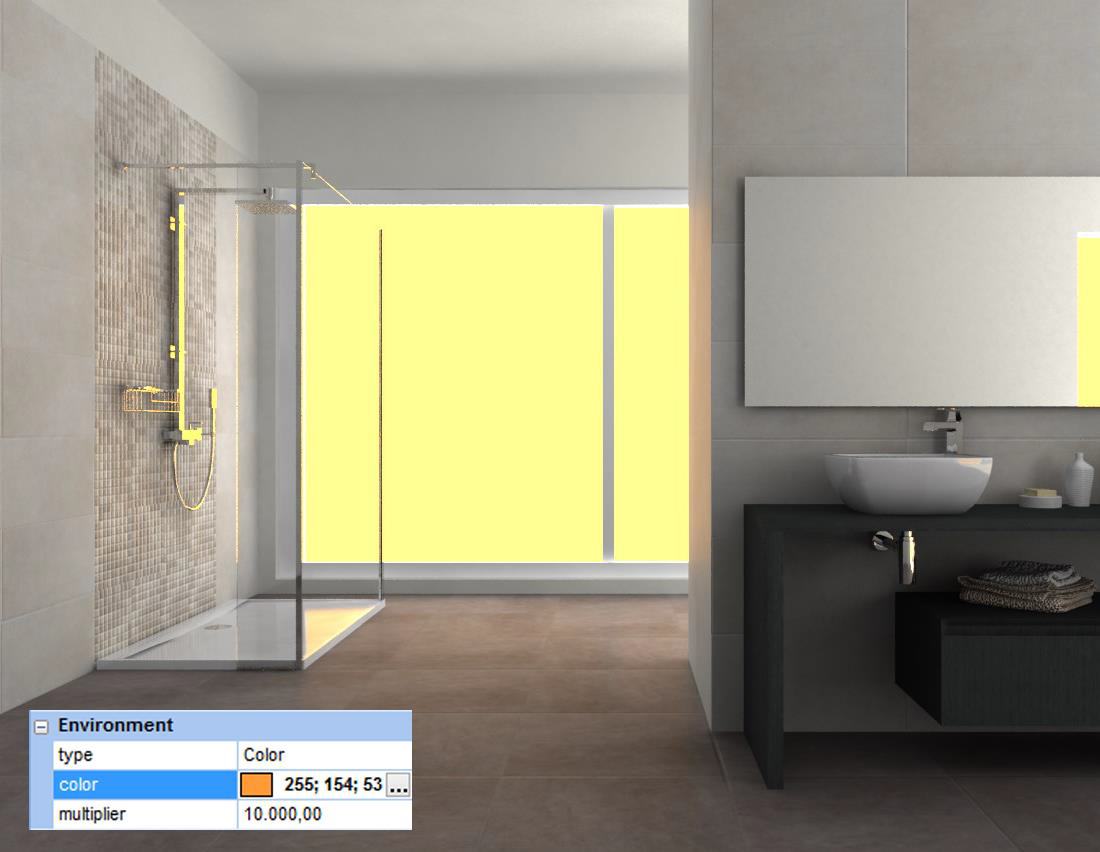
In the next images, you can see how in these circumstances the custom colour will be seen in the background too, unless you decide to use a background image (refer to the Navigation chapter in order to learn how to apply background flat and spherical images). In such a situation, custom colour affects the indirect light of the scene only in the case that Saturation is different than zero (in the next images it’s been set to 0.7).

Day time and Night time pre-set buttons automatically setup parameter values in order to obtain renderings in night time (without any natural light), and in daylight (with active sun and sky).
This article is valid for DomuS3D® 2017 and later versions